Welcome to another Magento 2 tutorial. This time we are going to explore how to create a Magento 2 Command Line module. We are going to focus on the new and exciting addition to the Magento 2 framework that is the magento bin file (Command Line Interface or CLI). Think of this as a tool similar to N98-MageRun, but built into Magento 2.
During this guide, we will walk through what is required to build a module for Magento 2. We will also begin to cover some of the more advanced subjects for later tutorials, such as auto loading, factories, proxies, and code generation.
Let’s get started
1. Prerequisites
Before we begin, we will need an environment to use. I am opting for Vagrant (Vagrant is computer software that creates and configures virtual development environments) using a standard build that mounts a folder that contains Magento 2.
2. Magento 2 Generators
In our experience, one of the best ways to find your way around a new technology is to learn with a real-life example. Rather than just telling you how to build a module in Magento 2, we decided to build one ourselves and document the process.
We decided on a module called Magento 2 Generators. We hope that this guide will introduce some new areas in Magento 2, but also that the module itself will become a well-used tool like the Laravel generators. If you are familiar with Laravel, or to some extent, Symfony or Doctrine, you will be used to using a Command Line tool – eitherartisan or symfony console – to auto-generate code files.
Laravel, especially, has the Laravel 4 Generators project, which is probably one of the first packages I install when working with Laravel 4. Laravel 5 took this a step further and has the generator commands built into the framework.
So what exactly are we building?
Our module will add new commands to the standard Magento 2 CLI application bin/ magento. The new commands will create skeleton classes based on the namespace and type of class we want to generate. Let’s look at an example:

By running this command, we should see a new class created within:
![]()
This will include all of the boilerplate code that is required to run a controller.
3. Magento 2 Module Project Plan
Now we know what we are planning to build, what do we need to do within Magento 2 to get this working?
The good news is that Magento decided that the core framework should use more packages created by the community. The Magento team has included thesymfony2/ console component for developers working with CLI applications, which makes working with CLI scripts really easy. There is no need to write input / output handlers as this is all handled for us. We just need to register the new command via dependency injection, and from there we can start writing our first commands.
Dependency injection is also new to Magento 2 and we will look at some basic uses of constructor injection and di.xml configuration in this guide.
4. Magento 2 Folder Structure
Before we start working on our custom module, it’s useful to recap how Magento 2 code is structured.
There are some conventions that have been ported over from Magento 1, but it’s always handy to recap the basics with a new system such as this.
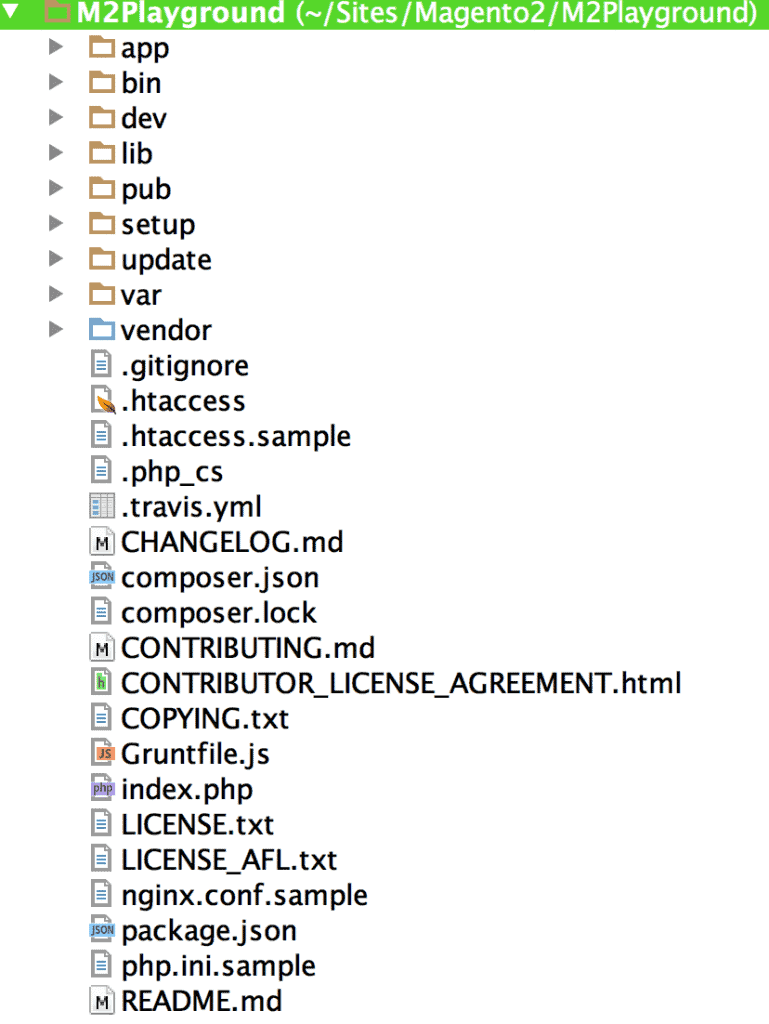
4.1. app</strong>
app is one of the main locations within Magento 2. It contains all of our Application Logics inside of app, you will see:
- .htaccess– Ensures that contents are not readable via a web browser.
- php– Handles registering of the autoloaders used by Magento 2.
- php– Starts the bootstrap process.
- functions.php – Registers global functions that are used throughout the application.
Mainly the creation of value objects: E.g.

- code– This folder is where all of our code will be placed.
- design– When working on themes, this is the place for you. Not only is your project located here, but you will also find the core Magento themes separated into front-end and admin sections.
- etc– If you’re looking for project configuration, you will find it here.
- il8n– Translations are kept here.
4.2. bin
The bin directory is used for any binary files that are executable. The only Magento file in the bin directory is the Magento 2 CLI command that is used to run many maintenance tasks such as cache clearing, installing Magento, or running the indexers. There are many more commands, and this is where we will be looking to add functionality with our module.
4.3. lib
The lib folder is similar to its equivalent in Magento 1. It contains the main framework for Magento as well as some core libraries that are required. The Magento 2 videos suggest that you should use this folder to install extra libraries into the system. Instead, you should only use this folder if you can’t make a Composer package out of your library.
4.4. pub
The public folder is where your web server should point. Inside this directory are all of the auto-generated front-end assets that are used to render the site. It’s important to ensure the write permissions are set on these folders, otherwise you will run into some issues. But there is no active development done inside this directory. Instead, it’s used by Magento to place all assets that are needed. While in development mode, front-end assets are generated in real time; in fact, during development, you might find yourself running rm-rf pub/static/frontend/Theme.
However, when you go into production having assets generated in real time, you would add too much overhead to page loads, so php bin/magento setup:staticcontent:deploygenerates these assets on deployment. While we are talking about this command, it is worth noting that we only need to run this when we are operating in production mode. When in default or development modes, these assets are automatically generated on each request.
4.5. setup
This folder is only ever needed when you install Magento 2. As with Magento 1, you can customise the install process, but with the ease of using the web installer or the CLI, there is little to do in this folder.
4.6. var
As with Magento 1, the var folder contains all of the cache assets and auto-generated class files etc. Anything that Magento creates (other than the generated CSS, JS etc.) will be found in this folder. It also contains the log and report directories so, if you have an exception log or debug info you want to see, take a look in this directory. Folders such aspage_cache and cache are easy to understand. However, you will see a folder called generation and di. Don’t worry if you do not see the di folder. You will only see this if you have compiled the DI container via the CLI and are working in production mode.
These folders contain the compiled dependency injection container, as well as all of the generated factories that Magento needs to function. Again, during developer mode, these assets are generated in real-time, yet, when you move to production, there are more
4.7. vendor
If you have read the previous guide, you will know that this folder is generated by Composer and contains all of the dependencies that are defined within the composer.jsonfile.
Get in Touch
If you’re looking for ways to boost your e-commerce store, Bing Digital can help. From Magento Services to Magento Design and Development Service, we’re committed to providing effective e-commerce solutions to businesses across the UK. If you’d like to discuss your requirements further, get in touch today.
Give our team a call on 01634-540-160, or complete our online enquiry form and we’ll be in touch soon.
Read More: Magento 2 Module Structure